other
How do I apply reflective tape? Apr 07, 2021

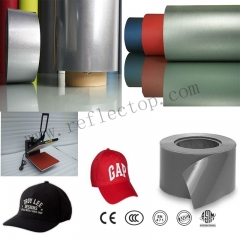
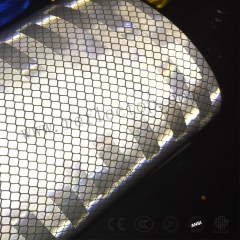
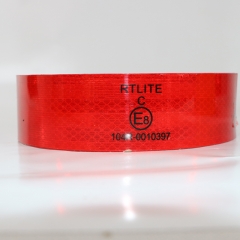
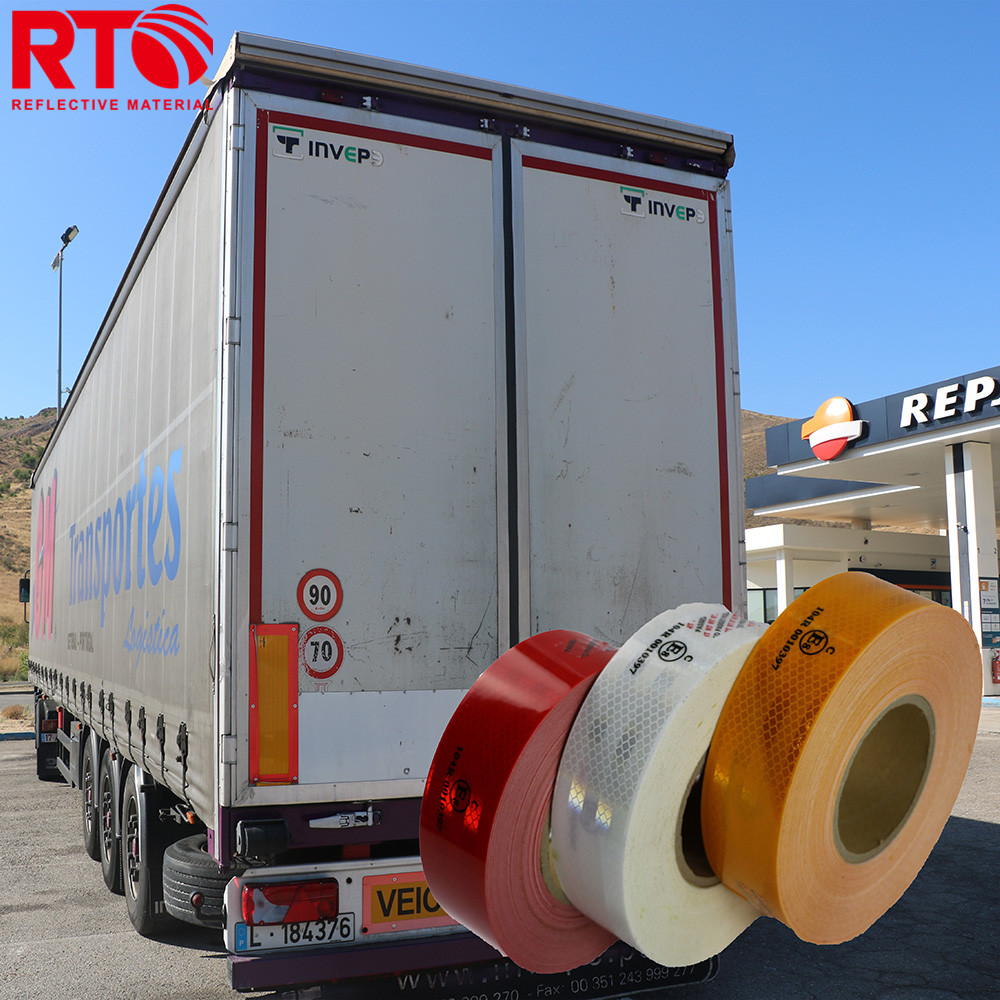
Four steps to apply your reflective tape


To ensure the durability, strong adhesion and effectiveness of your reflective tape, it’s important to correctly apply the reflective tape to your vehicle, equipment, or property. Proper application also helps to ensure that your warranty is valid.


Step 1 — Check the Weather

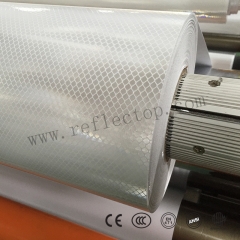
For optimum adhesion and durability, RTLITE reflective tapes should be applied when the temperature is between 50°-100°F (10°-38°C). If the temperature is above 100°F, take care to avoid pre-adhesion. If the temperature is below 50°F, heat the application surface using portable heaters or heat lamps, and store the markings in a hotbox to keep them above 50°F.

Step 2 — Get the Right Tools

Here are the tools you’ll need to apply your reflective tape:

  • Scissors or utility knife with a sharp blade for cutting.
  • Squeegee or roller to apply pressure across the surface of the reflective tape. The RTLITE PA-1 Squeegee is recommended.
  • Rivet tool, such as an Osborne Arc Punch #149, if you’re going over rivets. You can also cut around rivets.
Step 3 — Prepare the Surface

For proper adhesion, clean any surface where you’re applying reflective tape:

  1. Wash surfaces with detergent and water to remove dirt and road film.
  2. Flush washed area with plain, clean water to remove detergent. Soap film can inhibit adhesion.
  3. Wipe using a lint-free paper towel saturated with non-oily, quick-drying solvent, such as isopropyl alcohol, acetone, or RTLITE  Prep Solvent 70.
  4. Immediately dry surfaces with clean, dry, lint-free paper towel before solvent evaporates completely, paying close attention to rivets, seams, and door hinge areas.
Step 4 — Apply the Reflective Tape


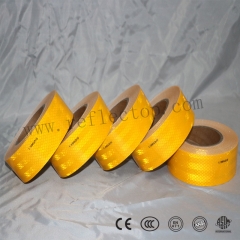
To apply the reflective tape:

  1. Remove the liner and position the reflective tape on the application surface.
  2. Tack down lightly to hold the reflective tape in position.
  3. Use your hand to press the reflective tape onto the application surface.
  4. Using your RTLITE PA-1 Squeegee (or other applicator) press the reflective tape down using firm, overlapping strokes.
  5. If there are hinges, latches or other hardware, cut the tape about ⅛ inches back to avoid buckling.
  6. To apply over rivets, apply the reflective tape over the rivet using firm pressure. Leave a bridge over the rivet head. Use a rivet punch to cut the tape around the rivet. Remove the tape over the rivet head. Squeegee around the rivet.


Our Service
  • Stable quality
    Stable quality
     
  • Business philosophy
    Business philosophy
     
  • The team concept
    The team concept
     
  • Service tenet
    Service tenet
     
Contact Info
If you are interested in our products and want to know more details,please leave a message here,we will reply you as soon as we can.
Leave a message
welcome to ReflecTop
If you are interested in our products and want to know more details,please leave a message here,we will reply you as soon as we can.

Home

Products

about

contact